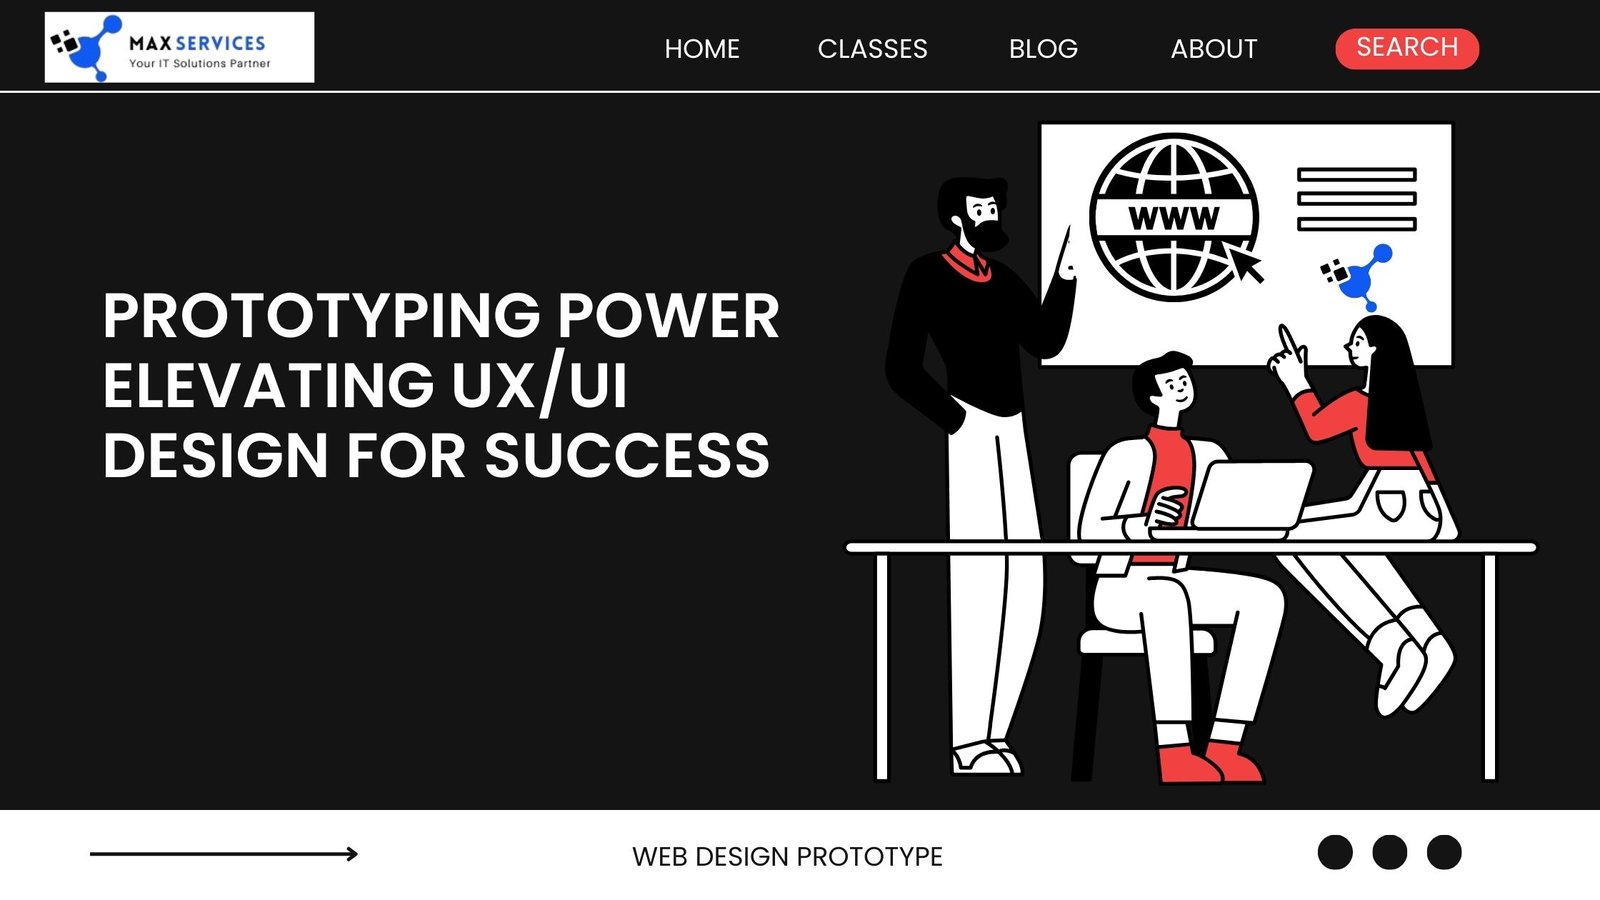
In the rapidly evolving world of technology, where user experience (UX) and user interface (UI) design play pivotal roles in defining the success of digital products, prototyping has emerged as an indispensable step in the design process. Prototypes serve as the bridge between conceptual ideas and tangible designs, enabling designers, developers, and stakeholders to visualize and interact with a product before it goes into full development. The significance of prototyping design in UX/UI design, its types, benefits, and best practices to ensure the creation of user-centered digital solutions.
What Is Prototyping Design in UX/UI?
Prototyping is the process of creating a preliminary version of a product that demonstrates its functionality, design, and flow. It is an iterative step in the UX/UI design process that allows designers to test and refine their ideas. Prototypes can range from simple sketches on paper (low-fidelity) to fully interactive digital models (high-fidelity) that mimic the final product.
Prototyping helps in:
- Visualizing design concepts.
- Identifying potential issues early.
- Gathering feedback from users and stakeholders.
- Reducing development costs by preventing costly redesigns.
Types of Prototypes Design
Prototypes can be categorized based on their fidelity, functionality, and purpose. Understanding these types is crucial for selecting the right approach depending on the project’s needs.
1. Low-Fidelity Prototypes
Low-fidelity prototypes are basic representations of a design, often created using sketches, wireframes, or basic tools. These prototypes focus on layout and functionality rather than aesthetics.
Advantages:
- Quick to create and modify.
- Ideal for brainstorming and initial feedback.
- Cost-effective.
Tools Used:
- Pen and paper.
- Whiteboards.
- Digital tools like Balsamiq.
2. Mid-Fidelity Prototypes
Mid-fidelity prototypes offer more detail than low-fidelity ones, often including grayscale designs and limited interactivity. These prototypes help refine layouts and workflows.
Advantages:
- Provides a clearer vision of the product.
- Allows for basic user testing.
Tools Used:
- Adobe XD.
- Sketch.
- Figma.
3. High-Fidelity Prototypes
High-fidelity prototypes closely resemble the final product, complete with visuals, interactions, and animations. They are often used for stakeholder presentations and advanced user testing.
Advantages:
- Highly realistic.
- Useful for identifying nuanced usability issues.
Tools Used:
- Figma.
- InVision.
- Axure.
4. Interactive Prototypes
These prototypes are valuable for testing user experience and interface flow.
Advantages:
- Mimics real-world interactions.
- Helps in understanding user behavior.
Why Prototyping Design Matters in UX/UI Web Designing
Prototyping is not merely an optional step; it is a fundamental part of the UX/UI design process. Here’s why:
1. Clarifies Ideas
Designers often start with abstract ideas that need refinement. Prototyping brings these ideas to life, enabling teams to see and interact with a tangible representation of the product.
2. Facilitates Collaboration
Prototypes act as a common language among designers, developers, and stakeholders. They help communicate design intentions effectively, reducing misunderstandings and aligning everyone toward a shared vision.
3. Identifies Issues Early
Testing prototypes allows teams to uncover usability issues, design flaws, and functional gaps early in the process.
4. Enhances User Testing
Prototypes provide a platform for conducting user tests. By observing how users interact with the prototype, designers can gather valuable insights to refine the product.
5. Reduces Development Costs
Changes are easier and cheaper to implement during the prototyping phase than during or after development. A well-tested prototype minimizes the risk of costly redesigns.
6. Supports Iterative Design
Prototyping aligns with the iterative nature of UX/UI design. Designers can create, test, and refine prototypes multiple times to achieve the best possible user experience.
The Prototyping Process
A structured approach to prototyping ensures that the process is efficient and effective. Here’s a step-by-step guide:
1. Define Objectives
Understand the purpose of the prototype. Is it for internal review, user testing, or stakeholder approval? Clear objectives guide the level of fidelity and functionality needed.
2. Choose the Right Tools
Select prototyping tools based on the project’s requirements. For instance, use simple tools for low-fidelity prototypes and advanced software for high-fidelity ones.
3. Create Initial Designs
Start with basic wireframes or sketches to outline the layout and flow.
4. Add Interactivity
Introduce clickable elements, animations, and transitions to simulate user interactions. Ensure the prototype mimics real-world use cases.
5. Test and Gather Feedback
Conduct user tests to observe how users interact with the prototype. Gather feedback from stakeholders and iterate based on findings.
6. Refine and Finalize
Incorporate feedback to improve the prototype. Continue refining until the design meets the desired objectives and user needs.
Benefits of Prototyping
- Improved User Experience
Prototypes allow designers to test and refine the user experience, ensuring the final product is intuitive and user-friendly.
- Better Stakeholder Communication
A tangible prototype helps stakeholders understand the design’s vision, making it easier to secure approvals and align expectations.
- Risk Mitigation
By identifying issues early, prototypes reduce the risk of launching a flawed product, protecting the brand’s reputation and user trust.
- Enhanced Creativity
Prototyping encourages experimentation. Designers can test unconventional ideas without committing to full development.
- Streamlined Development
A well-defined prototype serves as a blueprint for developers, reducing ambiguities and speeding up the development process.
Best Practices for Effective Prototyping
To maximize the benefits of prototyping, follow these best practices:
- Start Simple: Begin with low-fidelity prototypes to explore ideas quickly.
- Focus on User Needs: Test with real users to ensure the design meets their expectations.
- Iterate Frequently: Embrace an iterative approach. Test, gather feedback, and refine the prototype multiple times to achieve the best results.
- Collaborate Across Teams: Their input can provide valuable perspectives.
- Document Changes: Keep track of changes and iterations to maintain a clear record of the design’s evolution.
- Test in Realistic Scenarios: Conduct usability tests in environments that mimic real-world conditions to gather accurate insights.
Tools for Prototyping
The right tools can make prototyping efficient and effective. Popular prototyping tools include:
- Figma: A versatile tool for collaborative prototyping and design.
- InVision: Ideal for creating interactive prototypes.
- Sketch: Popular among designers for its simplicity and functionality.
- Axure: Advanced tool for high-fidelity prototypes.
Real-World Examples of Prototyping Success
Airbnb
Airbnb leveraged prototyping to redesign its mobile app. By testing prototypes with users, the team identified pain points and optimized the user experience, resulting in a more intuitive app.
Google uses rapid prototyping in its design sprints. This approach enables teams to create and test prototypes within a week, accelerating innovation and problem-solving.
Slack
Slack’s prototyping process focused on creating a seamless user interface for its messaging platform. Testing prototypes helped refine features and interactions, contributing to its widespread adoption.
How to Overcome Challenges in Prototyping Design
While prototyping offers numerous benefits, it also comes with challenges:
Time Constraints
Solution: Use low-fidelity prototypes to quickly iterate and refine ideas.
Stakeholder Misalignment
Solution: Involve stakeholders early and use prototypes to align expectations.
Overemphasis on Aesthetics
Solution: Focus on functionality and usability before perfecting visuals.
Limited Resources
Solution: Leverage cost-effective tools and prioritize critical features in prototypes.
Conclusion
Prototyping is a cornerstone of successful UX/UI design. It bridges the gap between ideas and implementation, enabling teams to create user-centered, functional, and visually appealing digital products. By clarifying concepts, facilitating collaboration, and reducing risks, prototyping ensures that the final product meets user needs and business goals. Embracing prototyping as an integral part of the design process is essential for delivering exceptional user experiences in today’s competitive digital landscape.


